
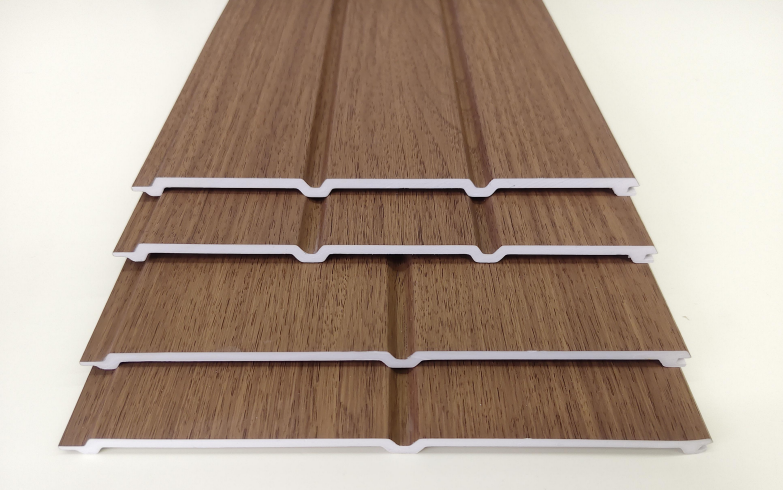
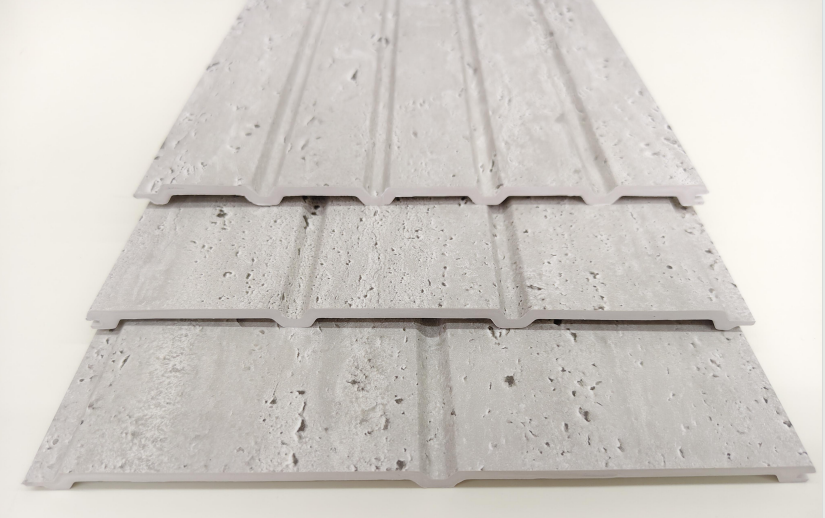
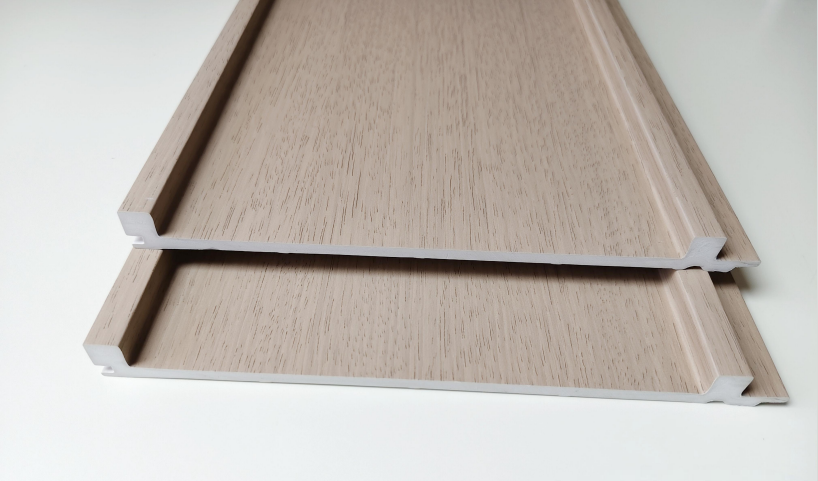
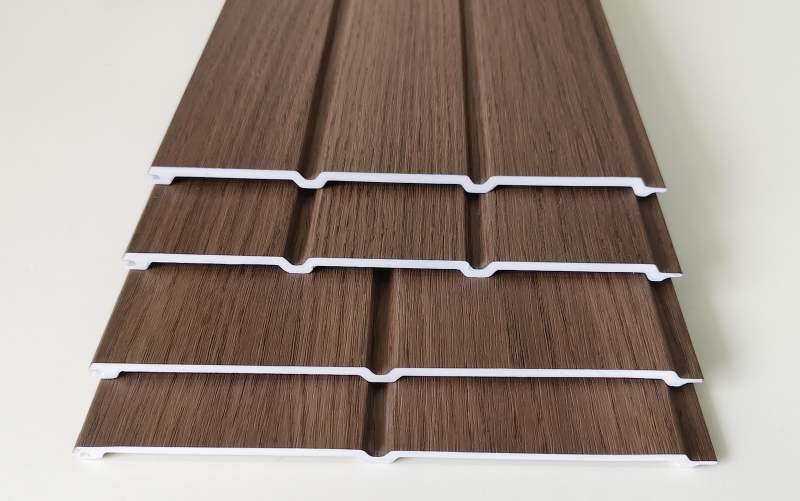
NEW ARRIVAL WPC WALL PANEL
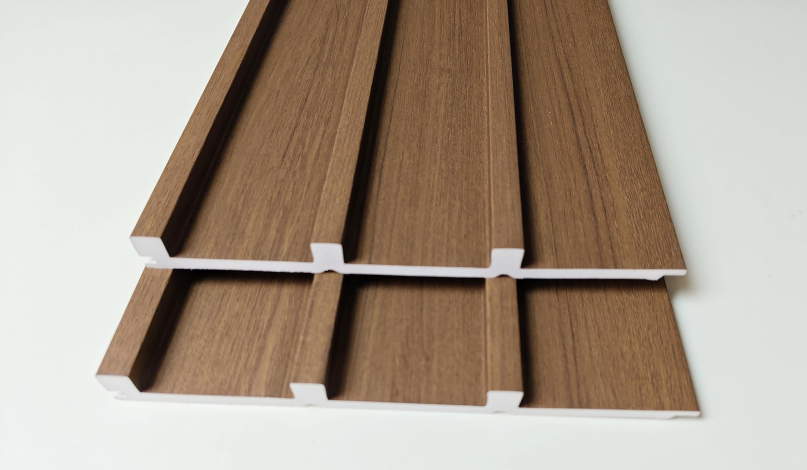
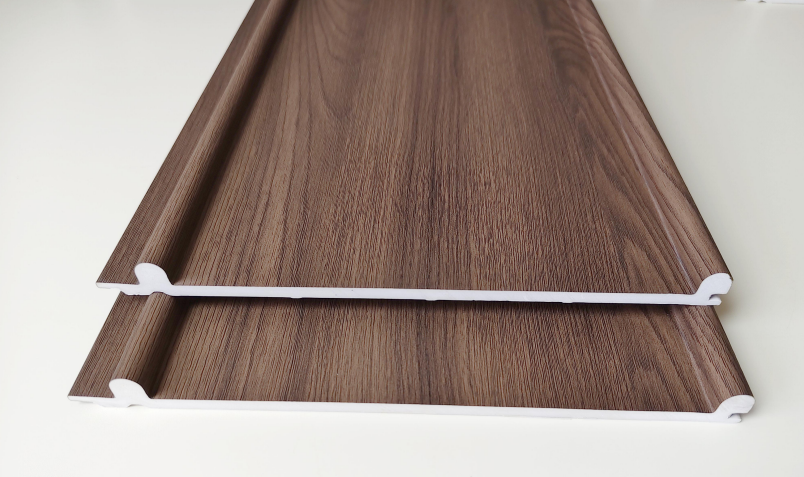
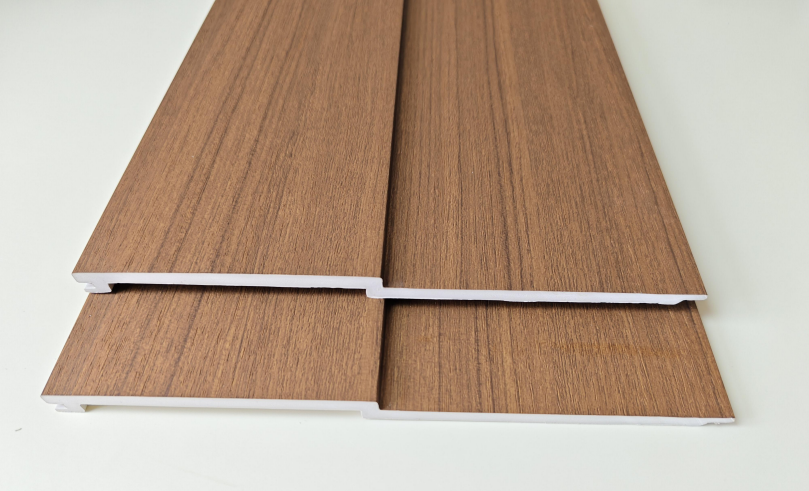
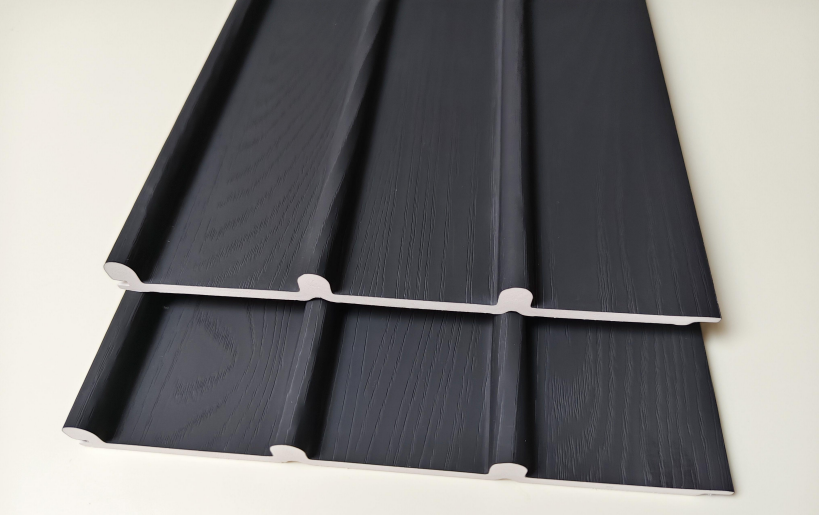
WPC PRODUCTS
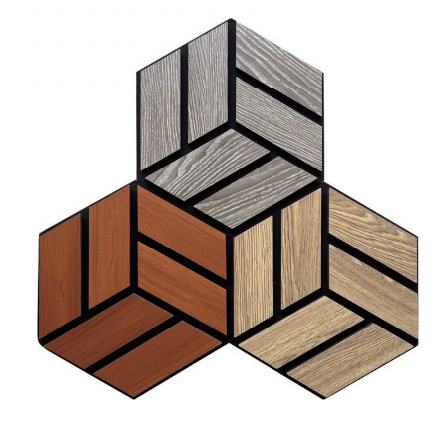
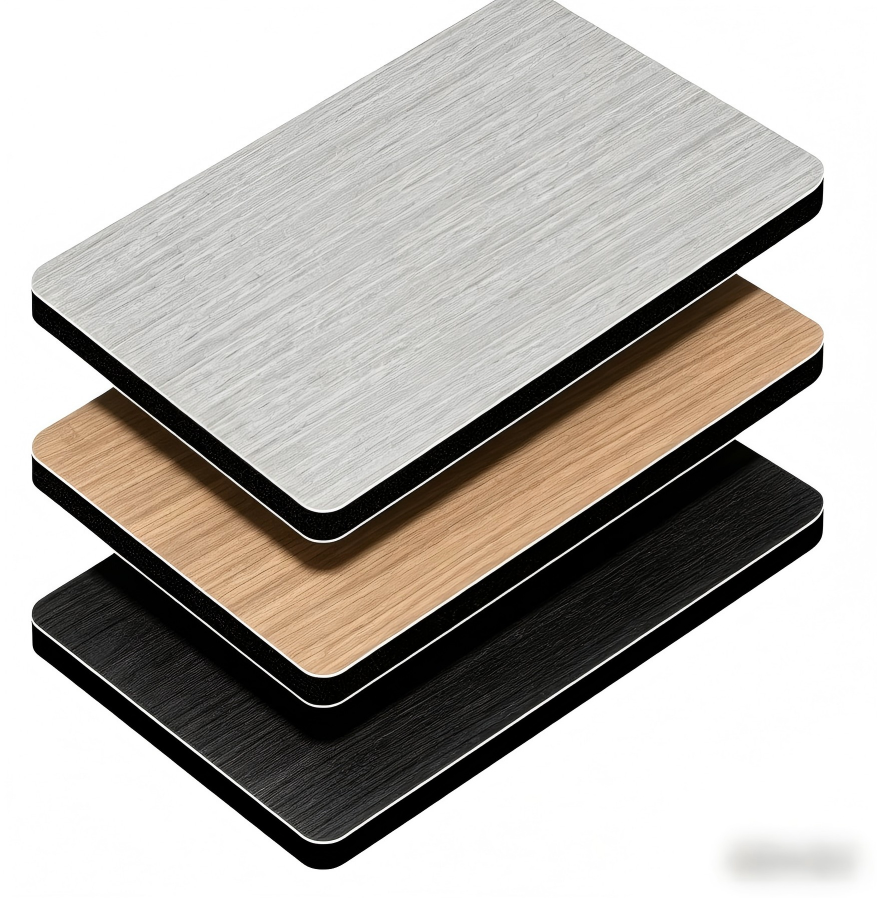
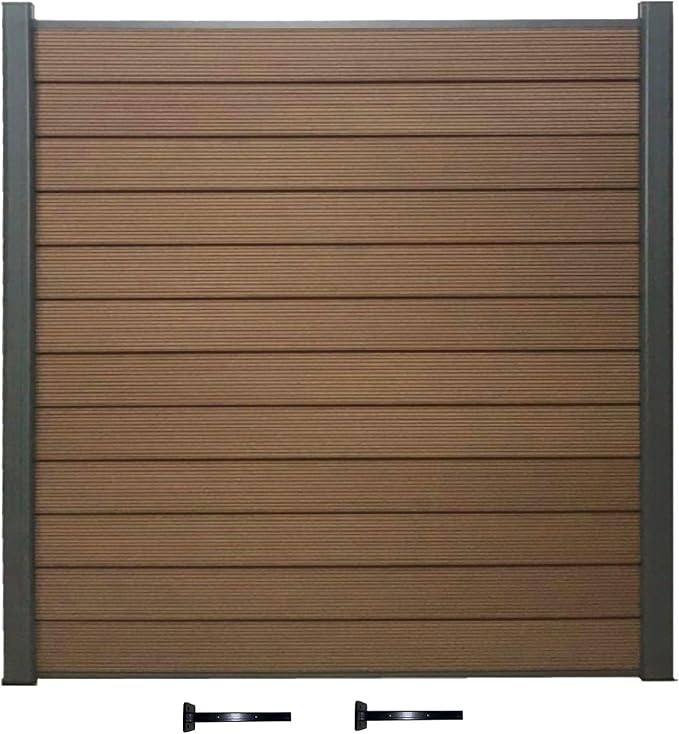
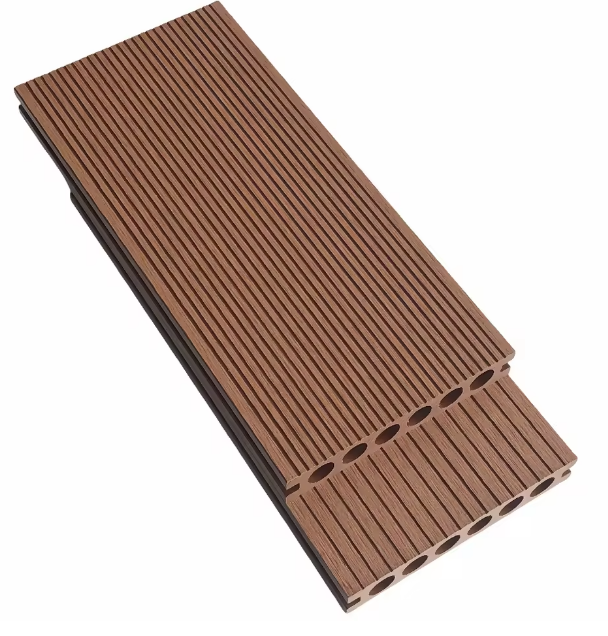
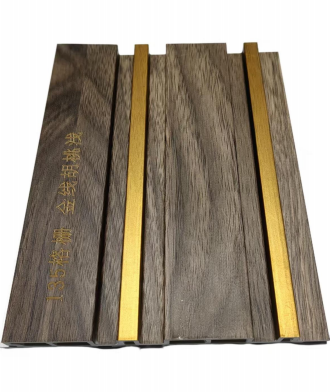
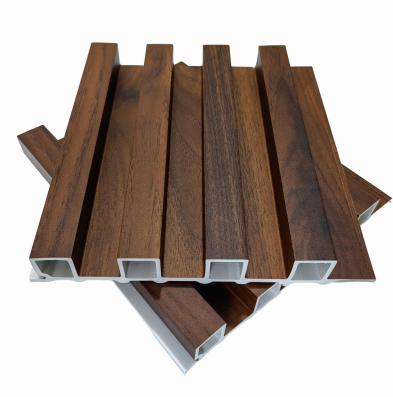
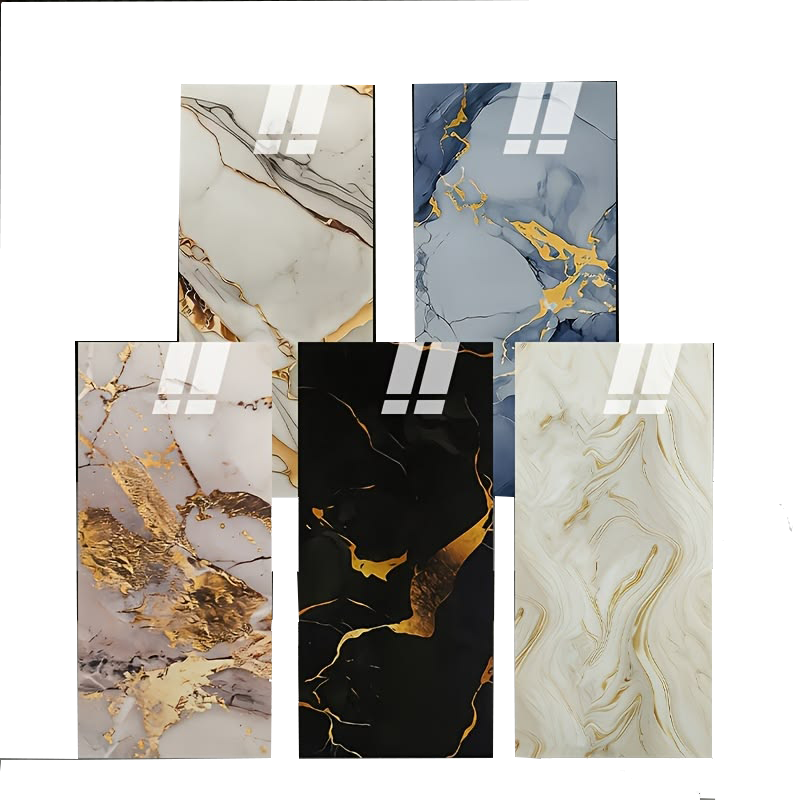
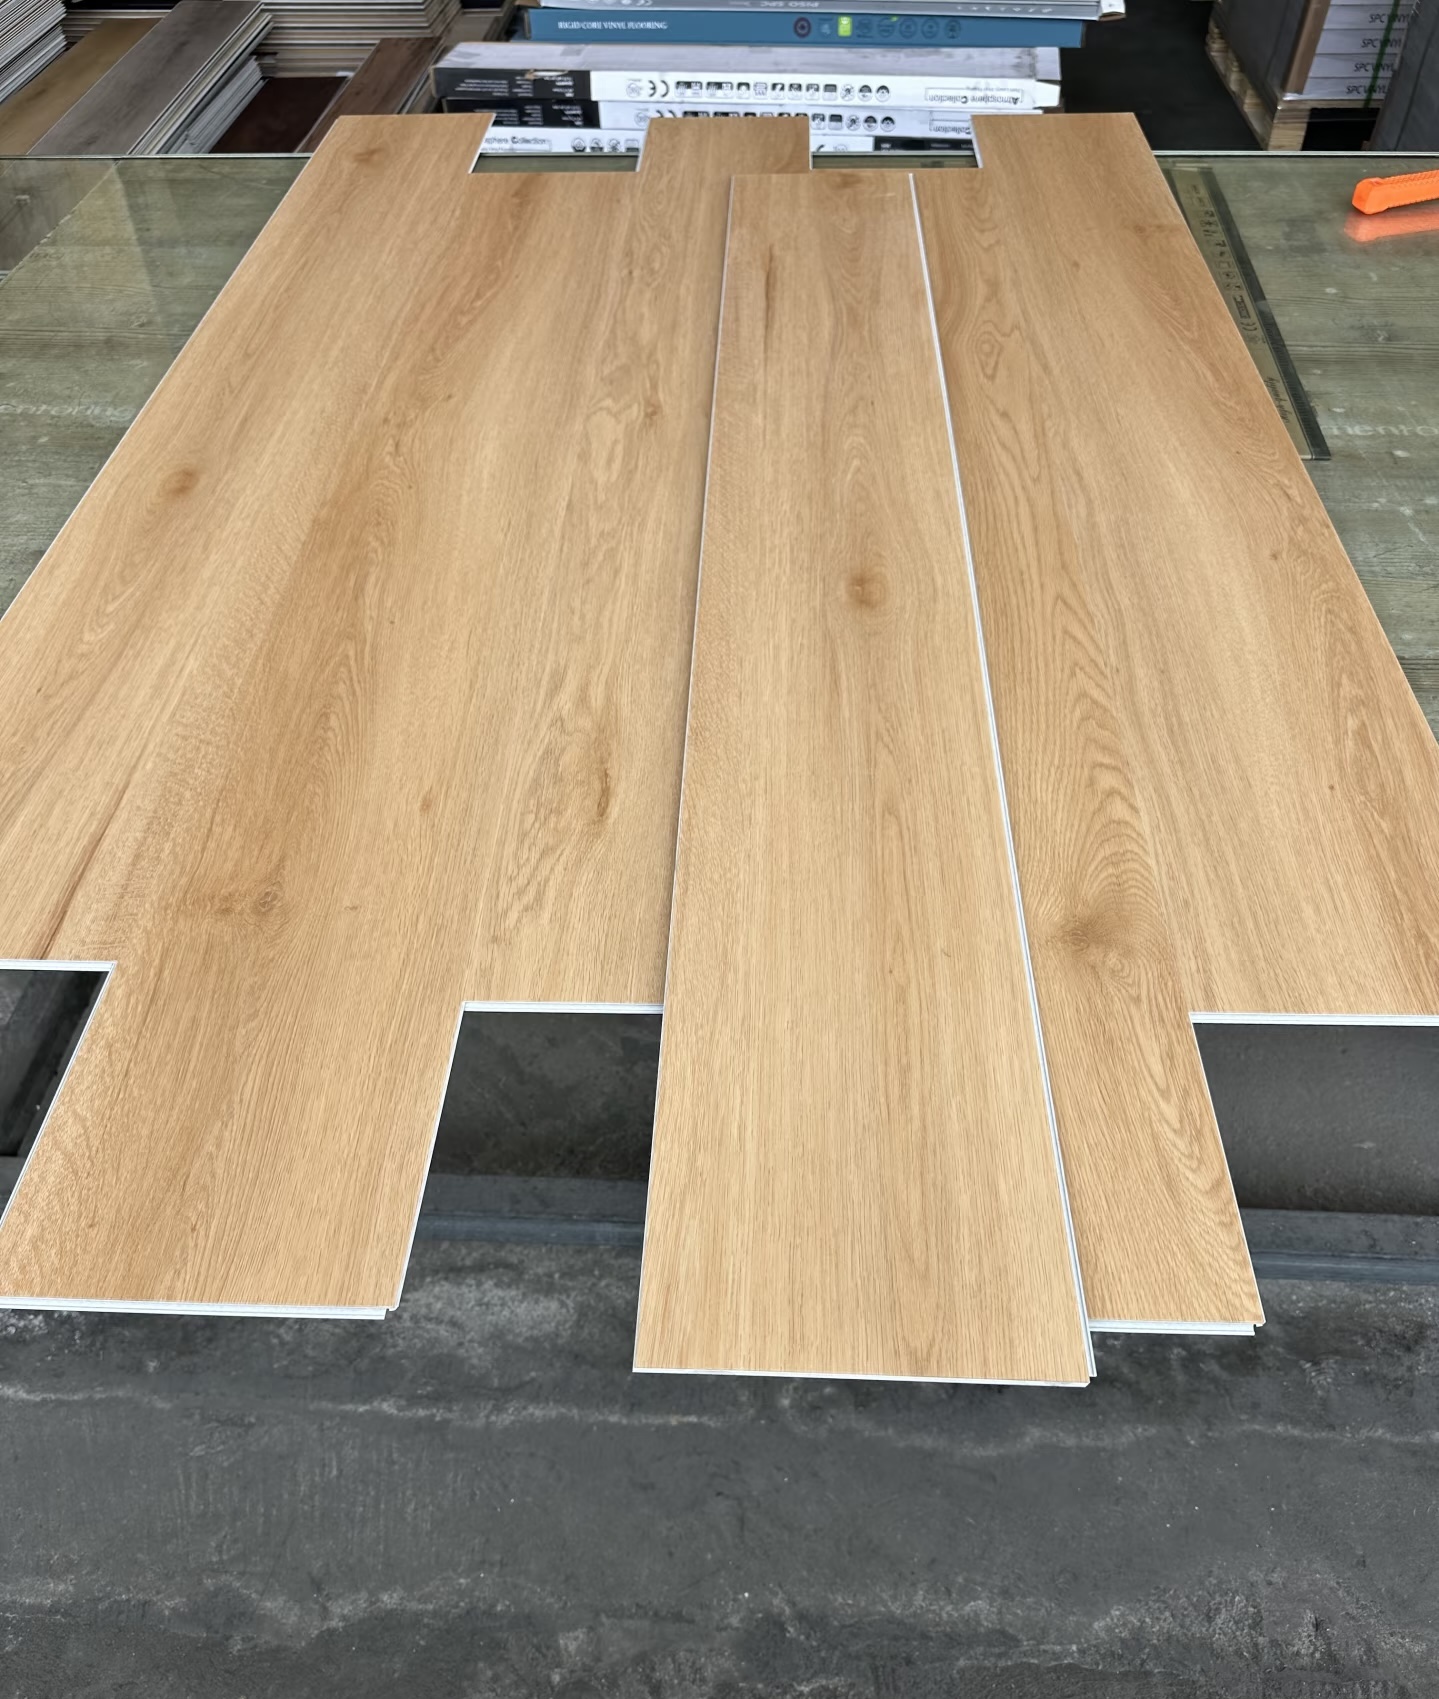
WOOD PANEL
![High-Quality Commercial Plywood | Durable & Affordable | [PUSEN WOOD]](https://hk03-1251009151.file.myqcloud.com/pusenwood.com/shop_imgs/2026-4-7-17755352632450.png)
![High-Quality Film Faced Plywood | Concrete Formwork Plywood | [pusenplex]](https://hk03-1251009151.file.myqcloud.com/pusenwood.com/shop_imgs/2026-4-7-17755359394080.png)
![Film faced plywood-hardwood High-Quality Film Faced Plywood | Concrete Formwork Plywood | [pusenplex]](https://hk03-1251009151.file.myqcloud.com/pusenwood.com/shop_imgs/2026-4-8-17756211208510.png)
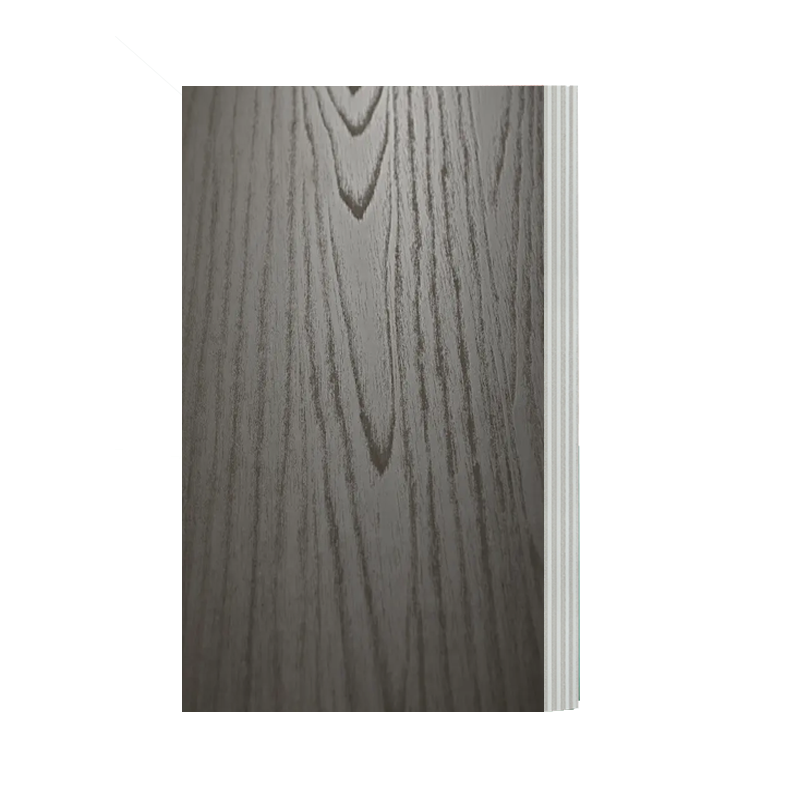
![High-Quality Melamine MDF Board | Moisture-Resistant & Ready-to-Use | PUSEN WOOD]](https://hk03-1251009151.file.myqcloud.com/pusenwood.com/shop_imgs/2026-4-7-17755512041780.png)
![High-Quality Melamine MDF Board | Moisture-Resistant & Ready-to-Use | [pusen]](https://hk03-1251009151.file.myqcloud.com/pusenwood.com/shop_imgs/2026-4-15-17762300408480.png)
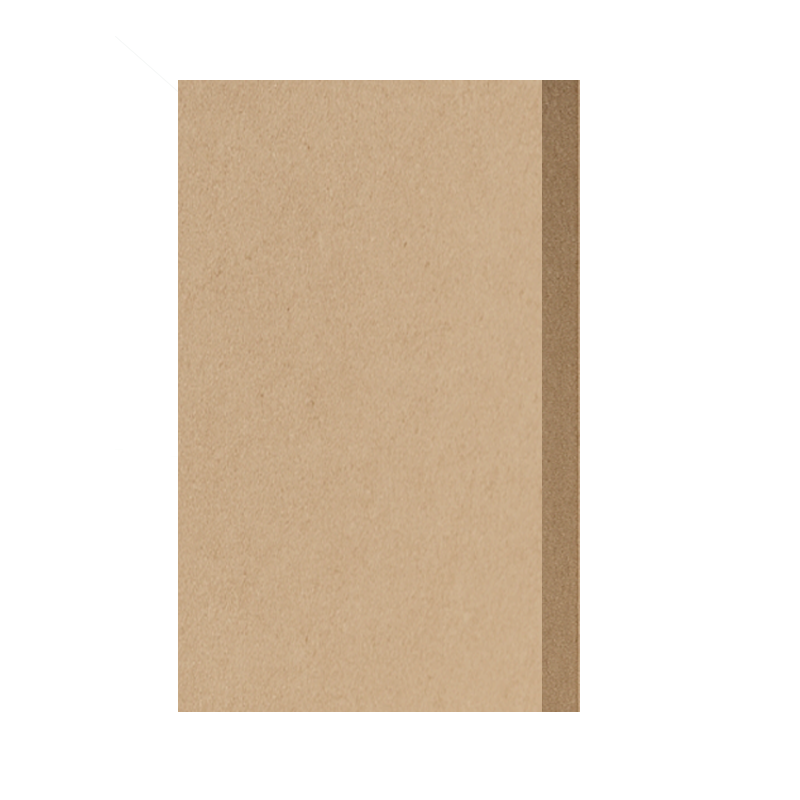
![High-Quality Melamine MDF Board | Moisture-Resistant & Ready-to-Use | [pusen]](https://hk03-1251009151.file.myqcloud.com/pusenwood.com/shop_imgs/2026-4-15-17762301093970.png)
ABOUT US

LINYI PUSEN INTL TRADE CO., LTD is based in Linyi City and specializes in exporting high-quality plywood and WPC wall panels. With over 13 years of export experience, we served clients across Europe, Latin America,Middle East,Asia and Africa Market. Guided by the values of honesty, professionalism, efficiency, and win-win collaboration, we are committed to providing reliable support and solutions to our customers worldwide.
HOW TO INSTALL DECORATION MATERIALS
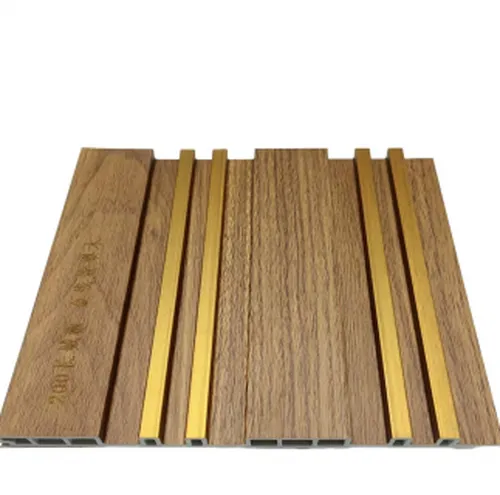
Easy Ways to Install WPC Panels
There are two main methods for installing WPC wall panels:
1. Glue Method (For Flat, Smooth Walls)
This method is ideal for clean, even walls without moisture problems.
1.Clean the wall surface.
Make sure it’s dry, dust-free, and flat.
2.Mark alignment lines.
Use a level and pencil to keep the panels straight.
3.Apply adhesive to the back of the panel.
Use strong construction glue or silicone in a zigzag pattern.
4.Press the panel onto the wall.
Hold it in place for a few seconds to ensure it sticks well.
5.Continue panel by panel.
Make sure each one fits tightly with the previous panel. Trim if needed.
6.Wipe off any extra glue.
Use a cloth to keep your panels clean and neat.
2. Screw + Frame Method (For Uneven or Damp Walls)
This method is better for damp areas or rough surfaces.
1.Install a support frame.
Use wood or aluminum battens spaced 30–50cm apart on the wall.
2.Screw the panels into the frame.
Start from one corner and fix each panel securely.
3.Use connectors if included.
Some WPC panels have interlocking systems or grooves—line them up carefully.
4.Trim corners and edges.
Use decorative trims for a clean finish.
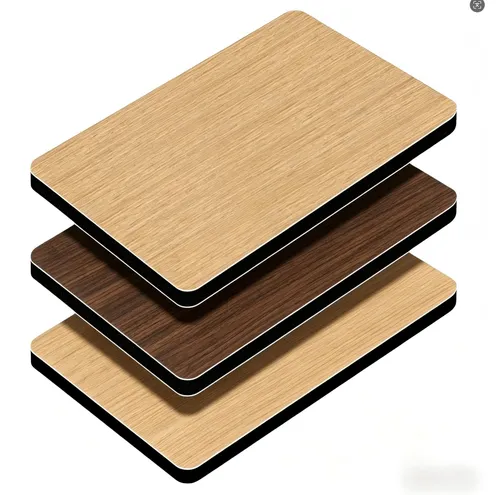
1.Mark the Layout: Start by marking guidelines on the surface for the layout of the veneer. Use a measuring tape and level to create a grid or alignment marks to keep the panels straight.
2.Apply Adhesive: Choose an adhesive suitable for bamboo charcoal wood veneer, typically a strong, wood-safe glue. Spread the adhesive evenly on the back of the veneer or the wall. If the veneer is thick, apply the adhesive directly to the wall; if it’s thin, apply it to the veneer panel itself. Ensure an even layer to prevent lumps.
3.Place the Veneer on the Wall: Carefully align the first veneer panel with your guidelines and press it against the wall. It’s usually best to start from the bottom and work upwards. Apply firm, even pressure, either with a roller or by hand, to ensure good adhesion.
4.Trim Excess Veneer: Use a utility knife or veneer trimmer to cut any excess veneer at the edges or around obstacles such as outlets or corners. Be precise with cuts to maintain a clean, professional appearance.
5.Secure with Finishing Nails (Optional): For extra security, especially for larger or thicker panels, you can use finishing nails or small screws. Place them in inconspicuous areas to minimize visibility. This step is optional but recommended for high-traffic areas or where the veneer may be subject to wear.
6.Repeat for Additional Panels: Continue to apply each panel, aligning with the previous ones and ensuring no gaps are left between them. Use a roller after each panel installation to eliminate any air bubbles and ensure consistent adhesion.
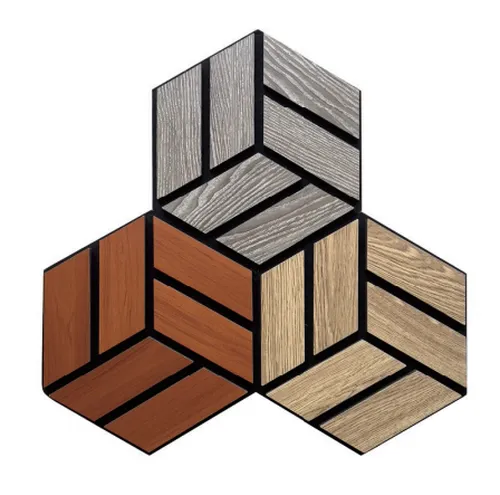
Position the Panels
Align the panel with your marked lines on the wall. Press firmly to ensure the adhesive bonds well.
Secure the Panels
For additional security, you can use nails or screws to hold the panels in place while the adhesive sets. Use a nail gun or screwdriver to insert nails or screws along the edges and at intervals across the panel. Make sure the fasteners are flush with the panel surface.
Repeat the Process
Continue to apply adhesive and position each panel, ensuring they are tightly butted together. Check alignment with a level as you go to maintain a straight installation.
Finishing Touches
Fill Gaps and Seams
If there are any gaps or seams between the panels, use caulk to fill them in. This will give the installation a seamless appearance.
Clean Up
Remove any excess adhesive or debris from the installation area. Clean the surface of the panels with a damp cloth if necessary.
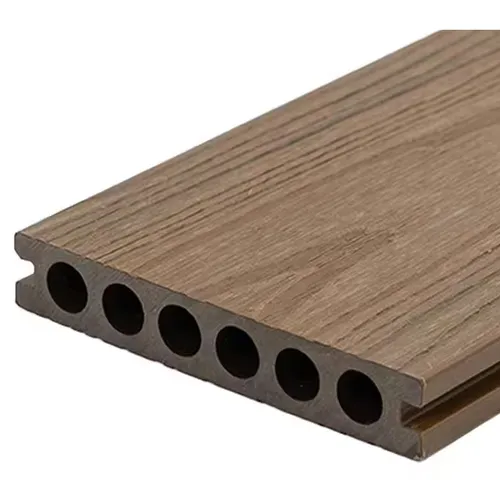
Installing WPC decking is a straightforward process that can significantly enhance the aesthetic and value of your outdoor space.
1. Preparation
Before you begin, ensure you have all the necessary materials and tools as we mentioned.
Clear the area where you will install the decking and ensure the ground is level.
2. Foundation
Start by laying down a solid foundation. Make sure that the ground is level and free from any junk.
If you plan to install WPC decking on the soil, creating a sturdy base using compacted gravel is essential. This will ensure that your installation remains stable and secure.
3. Joist Installation
Install the joists that will support your decking boards. They should be spaced no more than 400mm apart to provide adequate support.
Secure the joists to your foundation, ensuring they are straight and level. This will prevent any warping or unevenness in your decking.
4. Decking Layout
Plan the layout of your WPC decking boards. Consider the direction you want the boards to run and any patterns or designs you wish to create.
5. Board Installation
Begin installing your decking boards. Attach them to the joists using suitable fasteners, such as installing any type of wood polymer composite.
To avoid warping or buckling over time, leaving a small gap between each board is important.
6. Finishing Touches
Once all the boards are in place, add any finishing touches, such as skirting, railings, or stairs. Seal the edges with end caps or trim for a polished look.
7. Maintenance
Although WPC decking requires minimal maintenance, regular cleaning will keep it looking its best and extend its lifespan.
Remember, WPC decking combines the beauty of wood with the durability of plastic, which makes it ideal for outdoor use.
MEMORIES WITH CLIENTS