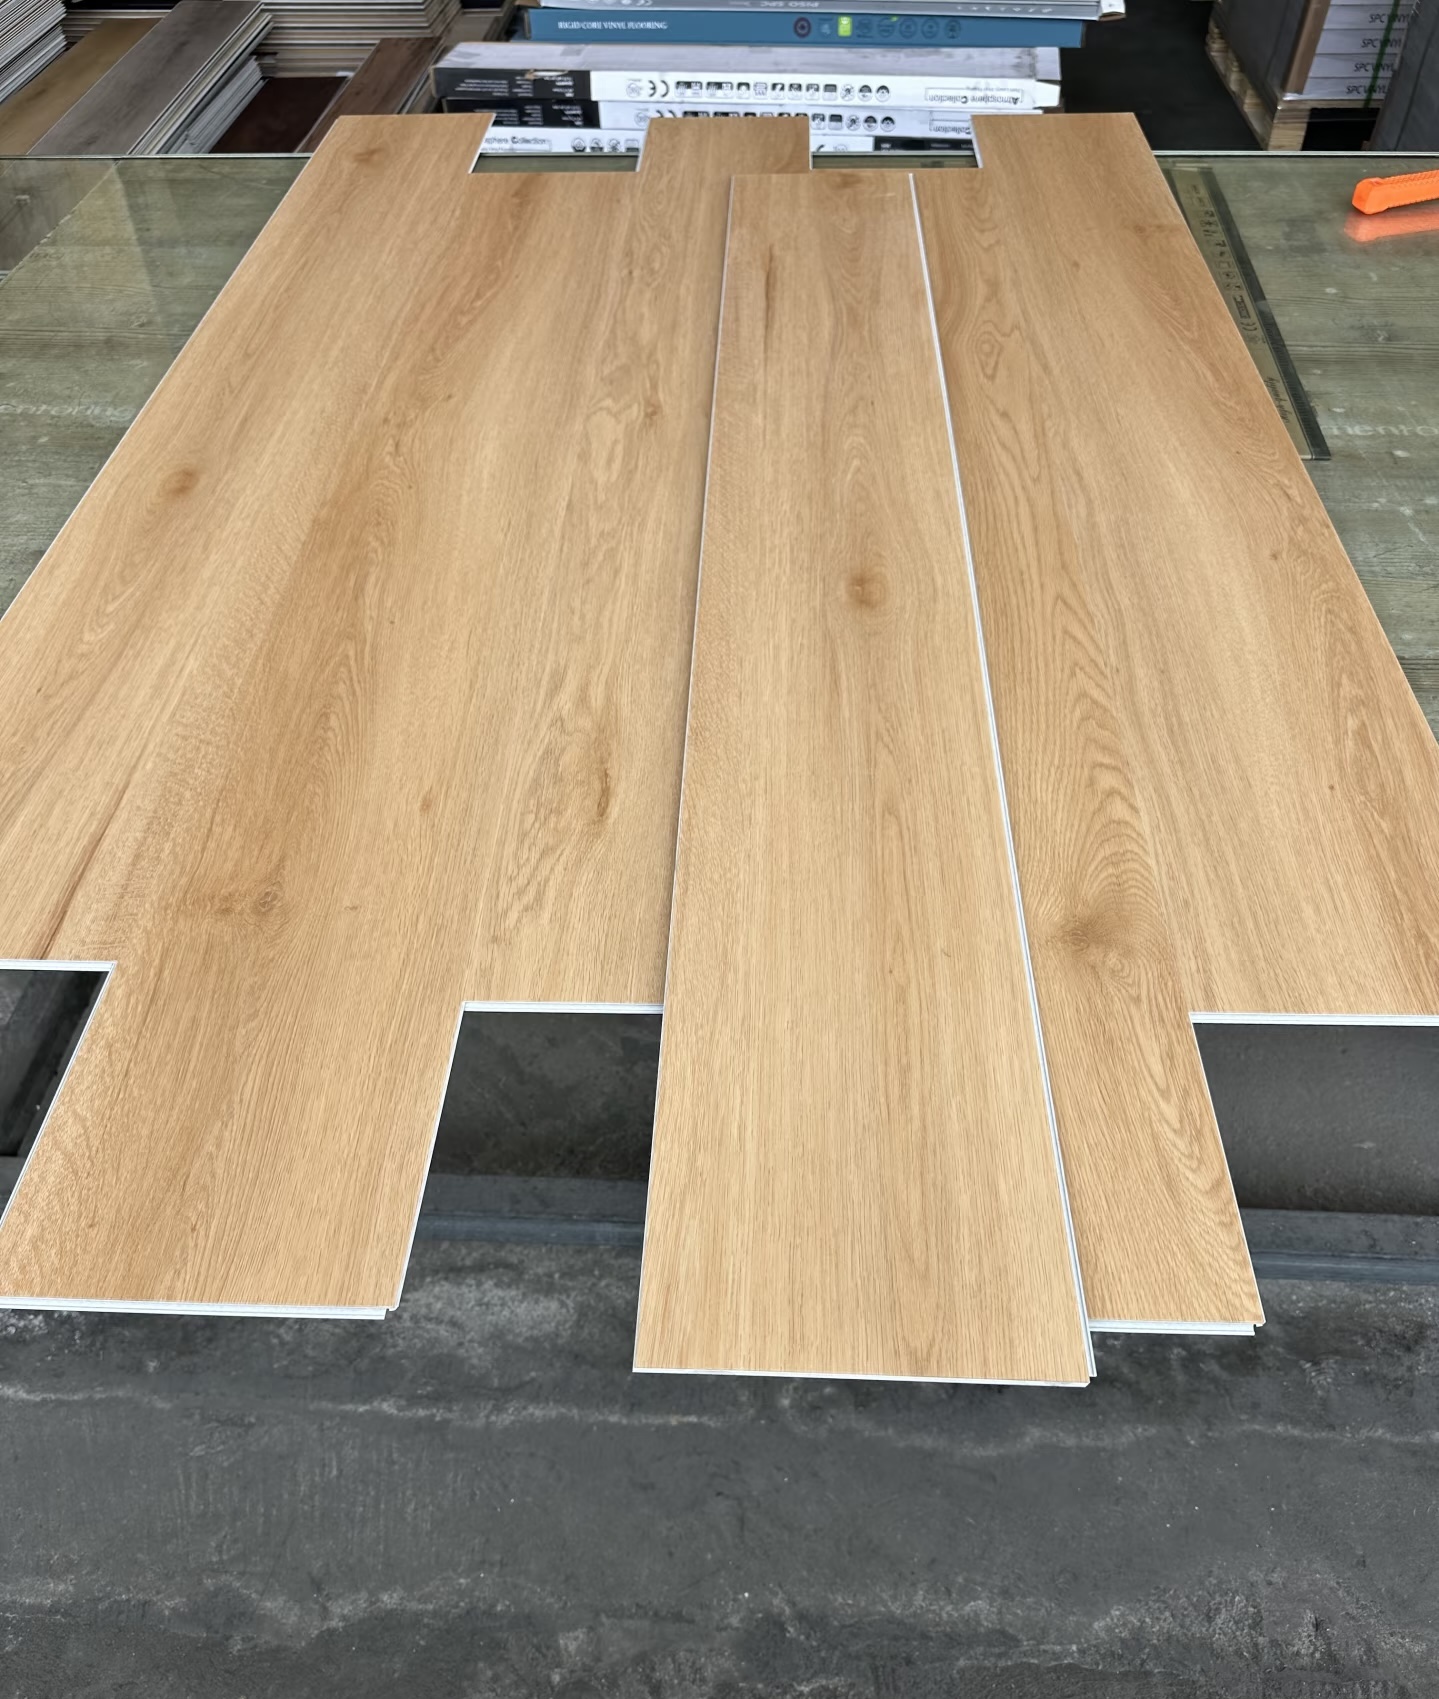
WPC PRODUCTS

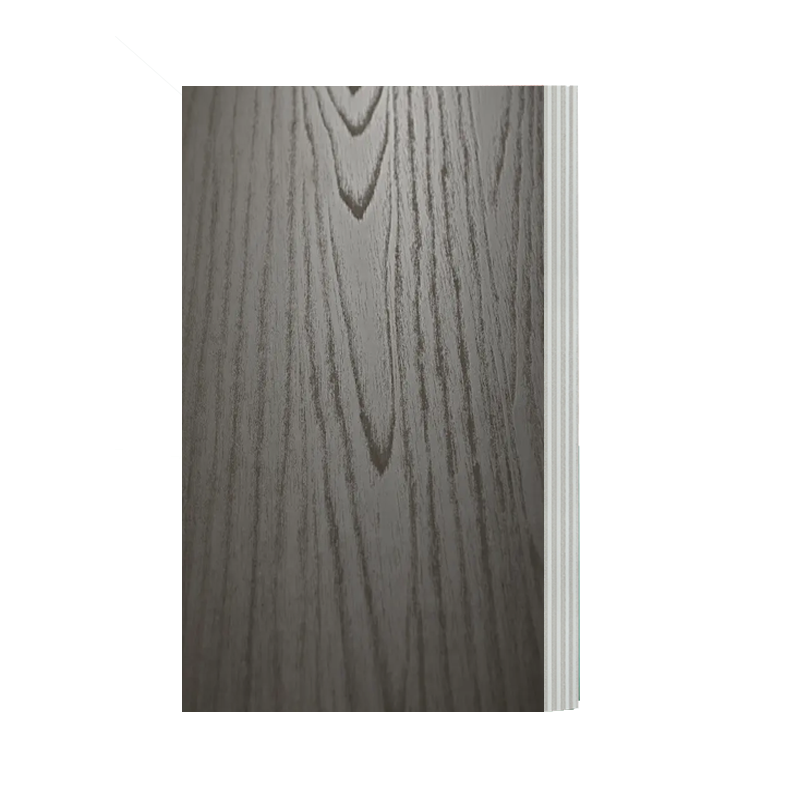
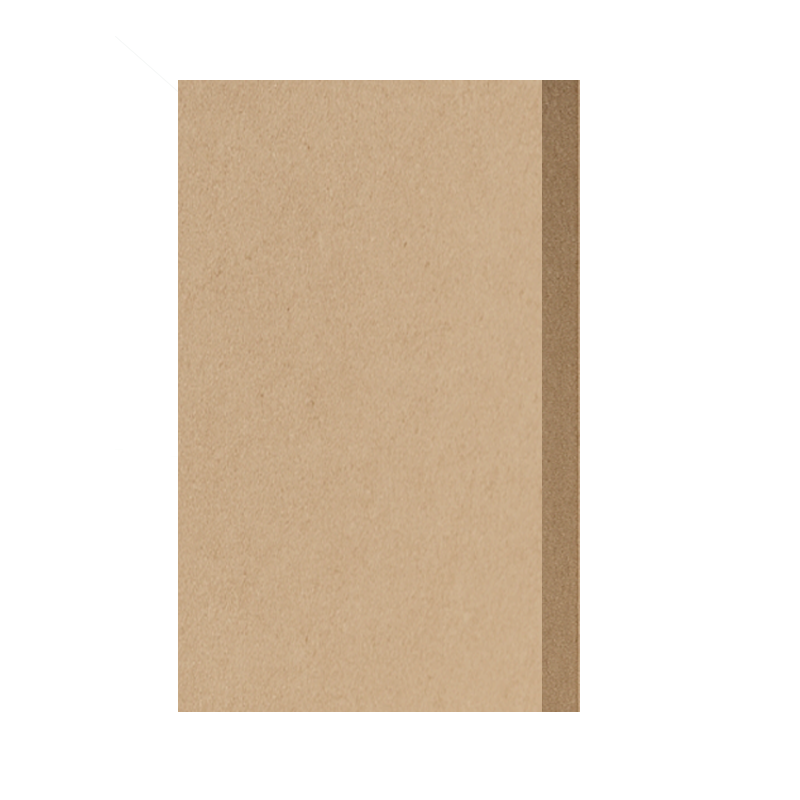
WOOD PANEL
![High-Quality Commercial Plywood | Durable & Affordable | [PUSEN WOOD]](https://hk03-1251009151.file.myqcloud.com/pusenwood.com/shop_imgs/2026-4-7-17755352632450.png)
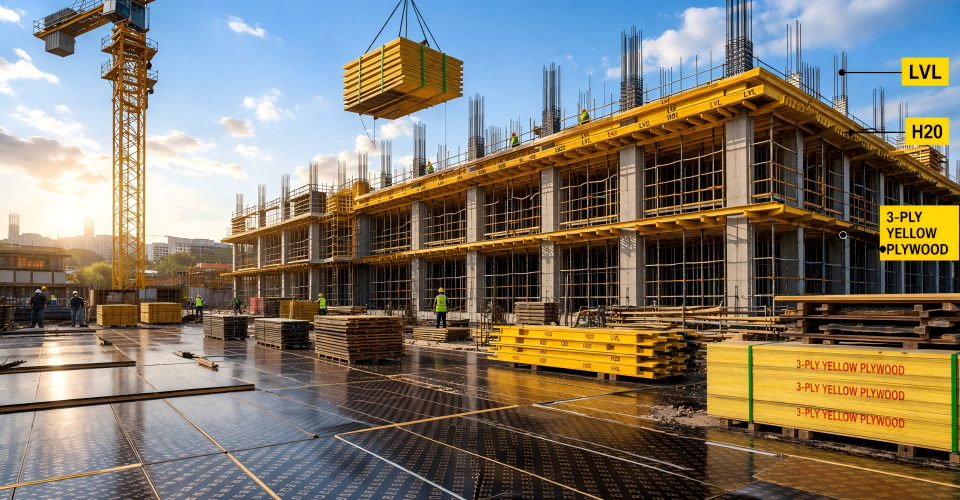
![High-Quality Film Faced Plywood | Concrete Formwork Plywood | [pusenplex]](https://hk03-1251009151.file.myqcloud.com/pusenwood.com/shop_imgs/2026-4-7-17755359394080.png)
![Film faced plywood-hardwood High-Quality Film Faced Plywood | Concrete Formwork Plywood | [pusenplex]](https://hk03-1251009151.file.myqcloud.com/pusenwood.com/shop_imgs/2026-4-8-17756211208510.png)
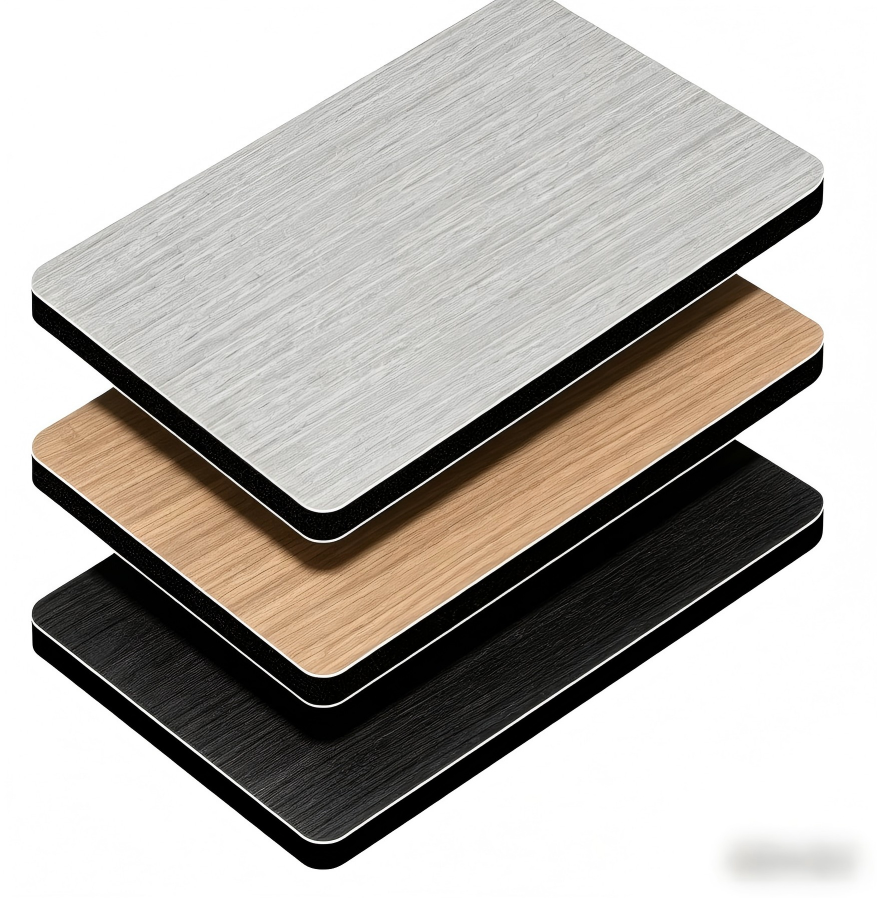
![High-Quality Melamine MDF Board | Moisture-Resistant & Ready-to-Use | PUSEN WOOD]](https://hk03-1251009151.file.myqcloud.com/pusenwood.com/shop_imgs/2026-4-7-17755512041780.png)
![High-Quality Melamine MDF Board | Moisture-Resistant & Ready-to-Use | [pusen]](https://hk03-1251009151.file.myqcloud.com/pusenwood.com/shop_imgs/2026-4-15-17762300408480.png)
![High-Quality Melamine MDF Board | Moisture-Resistant & Ready-to-Use | [pusen]](https://hk03-1251009151.file.myqcloud.com/pusenwood.com/shop_imgs/2026-4-15-17762301093970.png)
ABOUT US
Linyi Pusen Intl Trade Co.,ltd is a dynamic and fast-growing companies,specializing in decorative building materials,including plywood, WPC wall panels, PVC marble sheets, and relatedinterior solutions.
If you work with Pusen,what you will get ?
13 years exporting experiences will help you win more profit
Fast response and flexible decision-making
Personalized service with strong customer focus
Low costs and competitive pricing
Support for small orders and customization
Direct, efficient, and transparent communication
Quick market adaptation and flexibility
HOW TO INSTALL DECORATION MATERIALS
Easy Ways to Install WPC Panels
There are two main methods for installing WPC wall panels:
1. Glue Method (For Flat, Smooth Walls)
This method is ideal for clean, even walls without moisture problems.
1.Clean the wall surface.
Make sure it’s dry, dust-free, and flat.
2.Mark alignment lines.
Use a level and pencil to keep the panels straight.
3.Apply adhesive to the back of the panel.
Use strong construction glue or silicone in a zigzag pattern.
4.Press the panel onto the wall.
Hold it in place for a few seconds to ensure it sticks well.
5.Continue panel by panel.
Make sure each one fits tightly with the previous panel. Trim if needed.
6.Wipe off any extra glue.
Use a cloth to keep your panels clean and neat.
2. Screw + Frame Method (For Uneven or Damp Walls)
This method is better for damp areas or rough surfaces.
1.Install a support frame.
Use wood or aluminum battens spaced 30–50cm apart on the wall.
2.Screw the panels into the frame.
Start from one corner and fix each panel securely.
3.Use connectors if included.
Some WPC panels have interlocking systems or grooves—line them up carefully.
4.Trim corners and edges.
Use decorative trims for a clean finish.

1.Mark the Layout: Start by marking guidelines on the surface for the layout of the veneer. Use a measuring tape and level to create a grid or alignment marks to keep the panels straight.
2.Apply Adhesive: Choose an adhesive suitable for bamboo charcoal wood veneer, typically a strong, wood-safe glue. Spread the adhesive evenly on the back of the veneer or the wall. If the veneer is thick, apply the adhesive directly to the wall; if it’s thin, apply it to the veneer panel itself. Ensure an even layer to prevent lumps.
3.Place the Veneer on the Wall: Carefully align the first veneer panel with your guidelines and press it against the wall. It’s usually best to start from the bottom and work upwards. Apply firm, even pressure, either with a roller or by hand, to ensure good adhesion.
4.Trim Excess Veneer: Use a utility knife or veneer trimmer to cut any excess veneer at the edges or around obstacles such as outlets or corners. Be precise with cuts to maintain a clean, professional appearance.
5.Secure with Finishing Nails (Optional): For extra security, especially for larger or thicker panels, you can use finishing nails or small screws. Place them in inconspicuous areas to minimize visibility. This step is optional but recommended for high-traffic areas or where the veneer may be subject to wear.
6.Repeat for Additional Panels: Continue to apply each panel, aligning with the previous ones and ensuring no gaps are left between them. Use a roller after each panel installation to eliminate any air bubbles and ensure consistent adhesion.

Position the Panels
Align the panel with your marked lines on the wall. Press firmly to ensure the adhesive bonds well.
Secure the Panels
For additional security, you can use nails or screws to hold the panels in place while the adhesive sets. Use a nail gun or screwdriver to insert nails or screws along the edges and at intervals across the panel. Make sure the fasteners are flush with the panel surface.
Repeat the Process
Continue to apply adhesive and position each panel, ensuring they are tightly butted together. Check alignment with a level as you go to maintain a straight installation.
Finishing Touches
Fill Gaps and Seams
If there are any gaps or seams between the panels, use caulk to fill them in. This will give the installation a seamless appearance.
Clean Up
Remove any excess adhesive or debris from the installation area. Clean the surface of the panels with a damp cloth if necessary.
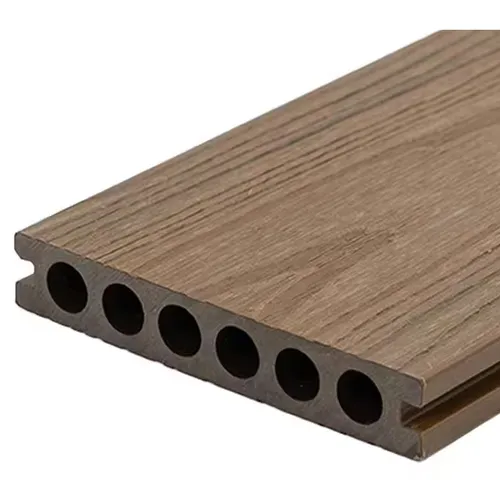
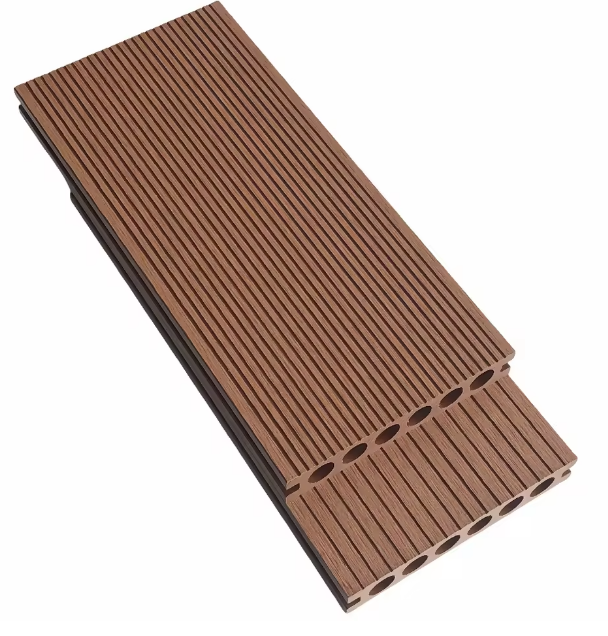
Installing WPC decking is a straightforward process that can significantly enhance the aesthetic and value of your outdoor space.
1. Preparation
Before you begin, ensure you have all the necessary materials and tools as we mentioned.
Clear the area where you will install the decking and ensure the ground is level.
2. Foundation
Start by laying down a solid foundation. Make sure that the ground is level and free from any junk.
If you plan to install WPC decking on the soil, creating a sturdy base using compacted gravel is essential. This will ensure that your installation remains stable and secure.
3. Joist Installation
Install the joists that will support your decking boards. They should be spaced no more than 400mm apart to provide adequate support.
Secure the joists to your foundation, ensuring they are straight and level. This will prevent any warping or unevenness in your decking.
4. Decking Layout
Plan the layout of your WPC decking boards. Consider the direction you want the boards to run and any patterns or designs you wish to create.
5. Board Installation
Begin installing your decking boards. Attach them to the joists using suitable fasteners, such as installing any type of wood polymer composite.
To avoid warping or buckling over time, leaving a small gap between each board is important.
6. Finishing Touches
Once all the boards are in place, add any finishing touches, such as skirting, railings, or stairs. Seal the edges with end caps or trim for a polished look.
7. Maintenance
Although WPC decking requires minimal maintenance, regular cleaning will keep it looking its best and extend its lifespan.
Remember, WPC decking combines the beauty of wood with the durability of plastic, which makes it ideal for outdoor use.
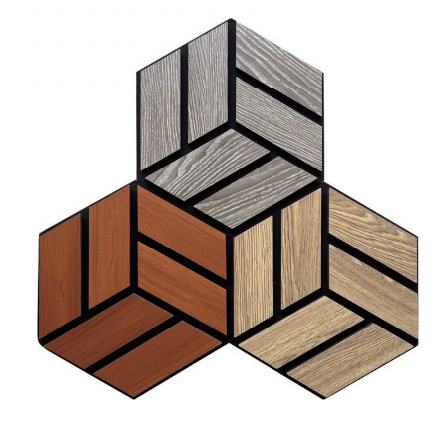
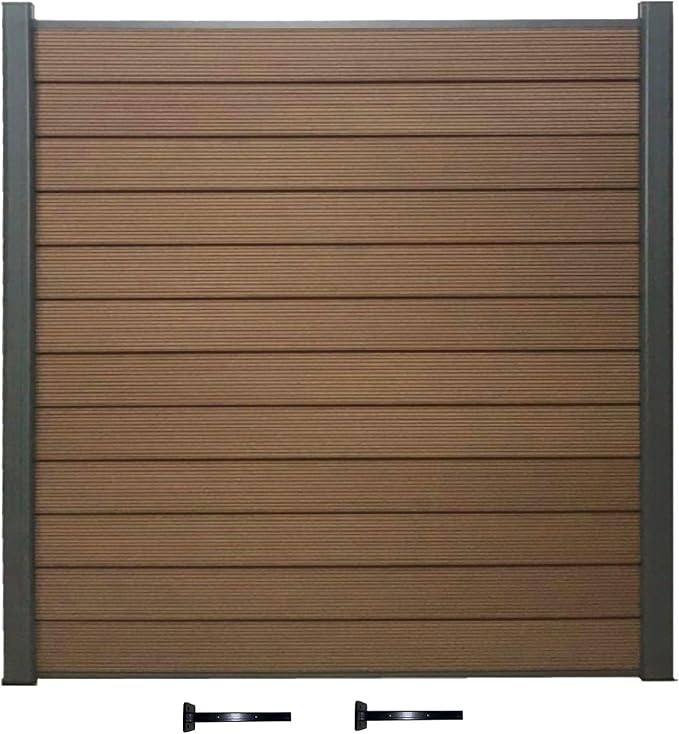
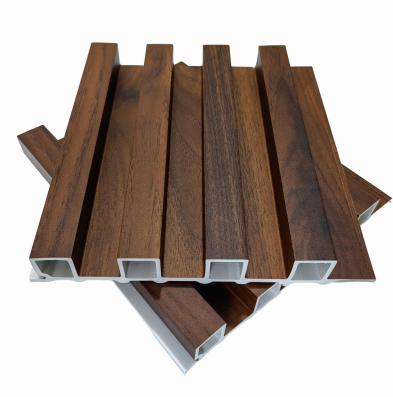
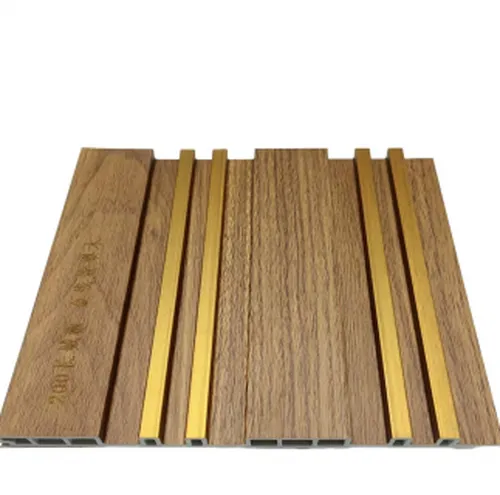
WPC WALL PANEL
Common Applications of WPC
1. Construction & Building Materials
Decking (outdoor floors, patios)
Wall cladding (interior & exterior walls)
Fencing
Railings
Popular because it resists moisture, termites, and rot better than natural wood.
2. Furniture
Outdoor furniture (benches, tables, chairs)
Modular indoor furniture
Cabinets and wardrobes
Low maintenance and long-lasting.
3. Doors & Windows
WPC doors (especially for bathrooms and kitchens)
Window frames
Doesn’t swell or warp like traditional wood.
4. Interior Design
False ceilings
Wall panels
Decorative partitions
Gives a wood-like aesthetic with better durability.
5. Automotive & Industrial Uses
Interior panels in vehicles
Packaging materials
Pallets
6. Landscaping & Outdoor Use
Garden structures (pergolas, gazebos)
Park benches
Boardwalks
Key Advantages
Water-resistant
Termite-proof
Eco-friendly (uses recycled materials )
Low maintenance
Long lifespan
PUSEN DECOR – Your Trusted WPC Wall Panel Manufacturer
PUSEN DECOR is a professional wholesale factory specializing in WPC wall panels. We provide eco-friendly, durable, and stylish solutions for interior and exterior decoration.
✔ Factory Direct Supply
✔ OEM & ODM Available
✔ Wide Range of Designs
✔ Stable Quality & Fast Delivery
Our products are widely used in residential, commercial, and hospitality projects worldwide.
WPC WALL PANEL (INDOOR) – TECHNICAL DATA SHEET
General Specifications
Material: Wood Plastic Composite (WPC)
Composition:
Wood Powder: 30%–60%
Plastic (PVC/PE): 30%–50%
Additives: ~10%
Dimensions
Thickness:
Standard Indoor: 6mm – 12mm
Recommended: 8mm – 12mm
Width:
Common sizes: 150mm / 160mm / 200mm / 300mm (customizable)
Length:
Standard: 2.6m / 2.8m / 3.0m
Custom lengths available
Physical Properties
Density: ≥ 1.2 g/cm³
Weight: approx. 2–7 kg/m²
Moisture Resistance: Low water absorption, no deformation
Thermal Stability: Good
Mechanical Properties
Flexural Strength: 25–40 MPa
Impact Resistance: Good
Load Capacity: Moderate (for decorative applications)
Fire Performance
Fire Rating:
Standard: B1 (Flame Retardant)
ASTM: Class B / C
Optional: B-s1,d0 (EN standard)
Environmental Performance
Formaldehyde Emission: Near zero
Recyclability: 100% recyclable
Eco Standard: E0 / E1
Functional Features
Waterproof & Moisture-proof
Anti-termite & Anti-corrosion
Anti-aging
Easy installation
Low maintenance
Service Life
Indoor use: 8–15 years (depending on quality and thickness)
How to Install WPC Wall Panels (Indoor)
Tools & Materials Needed
Measuring tape
Level ruler
Electric drill / screwdriver
Screws or nails
Clips (if using hidden system)
Saw (for cutting panels)
Adhesive (optional)
Installation Methods
1. Frame Installation (Recommended)
Best for uneven walls or long-term durability
Steps:
Install a wooden or metal frame (keel) on the wall
Spacing: 30–50 cm
Ensure the frame is level and firmly fixed
Start from one side (corner)
Fix the first panel with screws or nails
Install the next panel using tongue & groove system
Continue panel by panel
Finish with edge trims or corner lines
Advantages:
Better ventilation
Prevents deformation
More stable structure
2. Direct Adhesive Installation
Best for flat and smooth walls
Steps:
Clean and dry the wall surface
Apply construction adhesive evenly on the back of panel
Press panel firmly onto the wall
Use a level to adjust alignment
Continue installing adjacent panels
Advantages:
Faster installation
Lower labor cost
Note: Not suitable for uneven or damp walls
Important Installation Tips
Leave 3–5 mm expansion gap between panels
Avoid installation in extreme temperatures
Store panels flat before installation
Cut panels with fine-tooth saw for clean edges
Use matching trims for better finishing
⏱️ Installation Time
Approx. 10–20 m² per day per worker (depending on method)
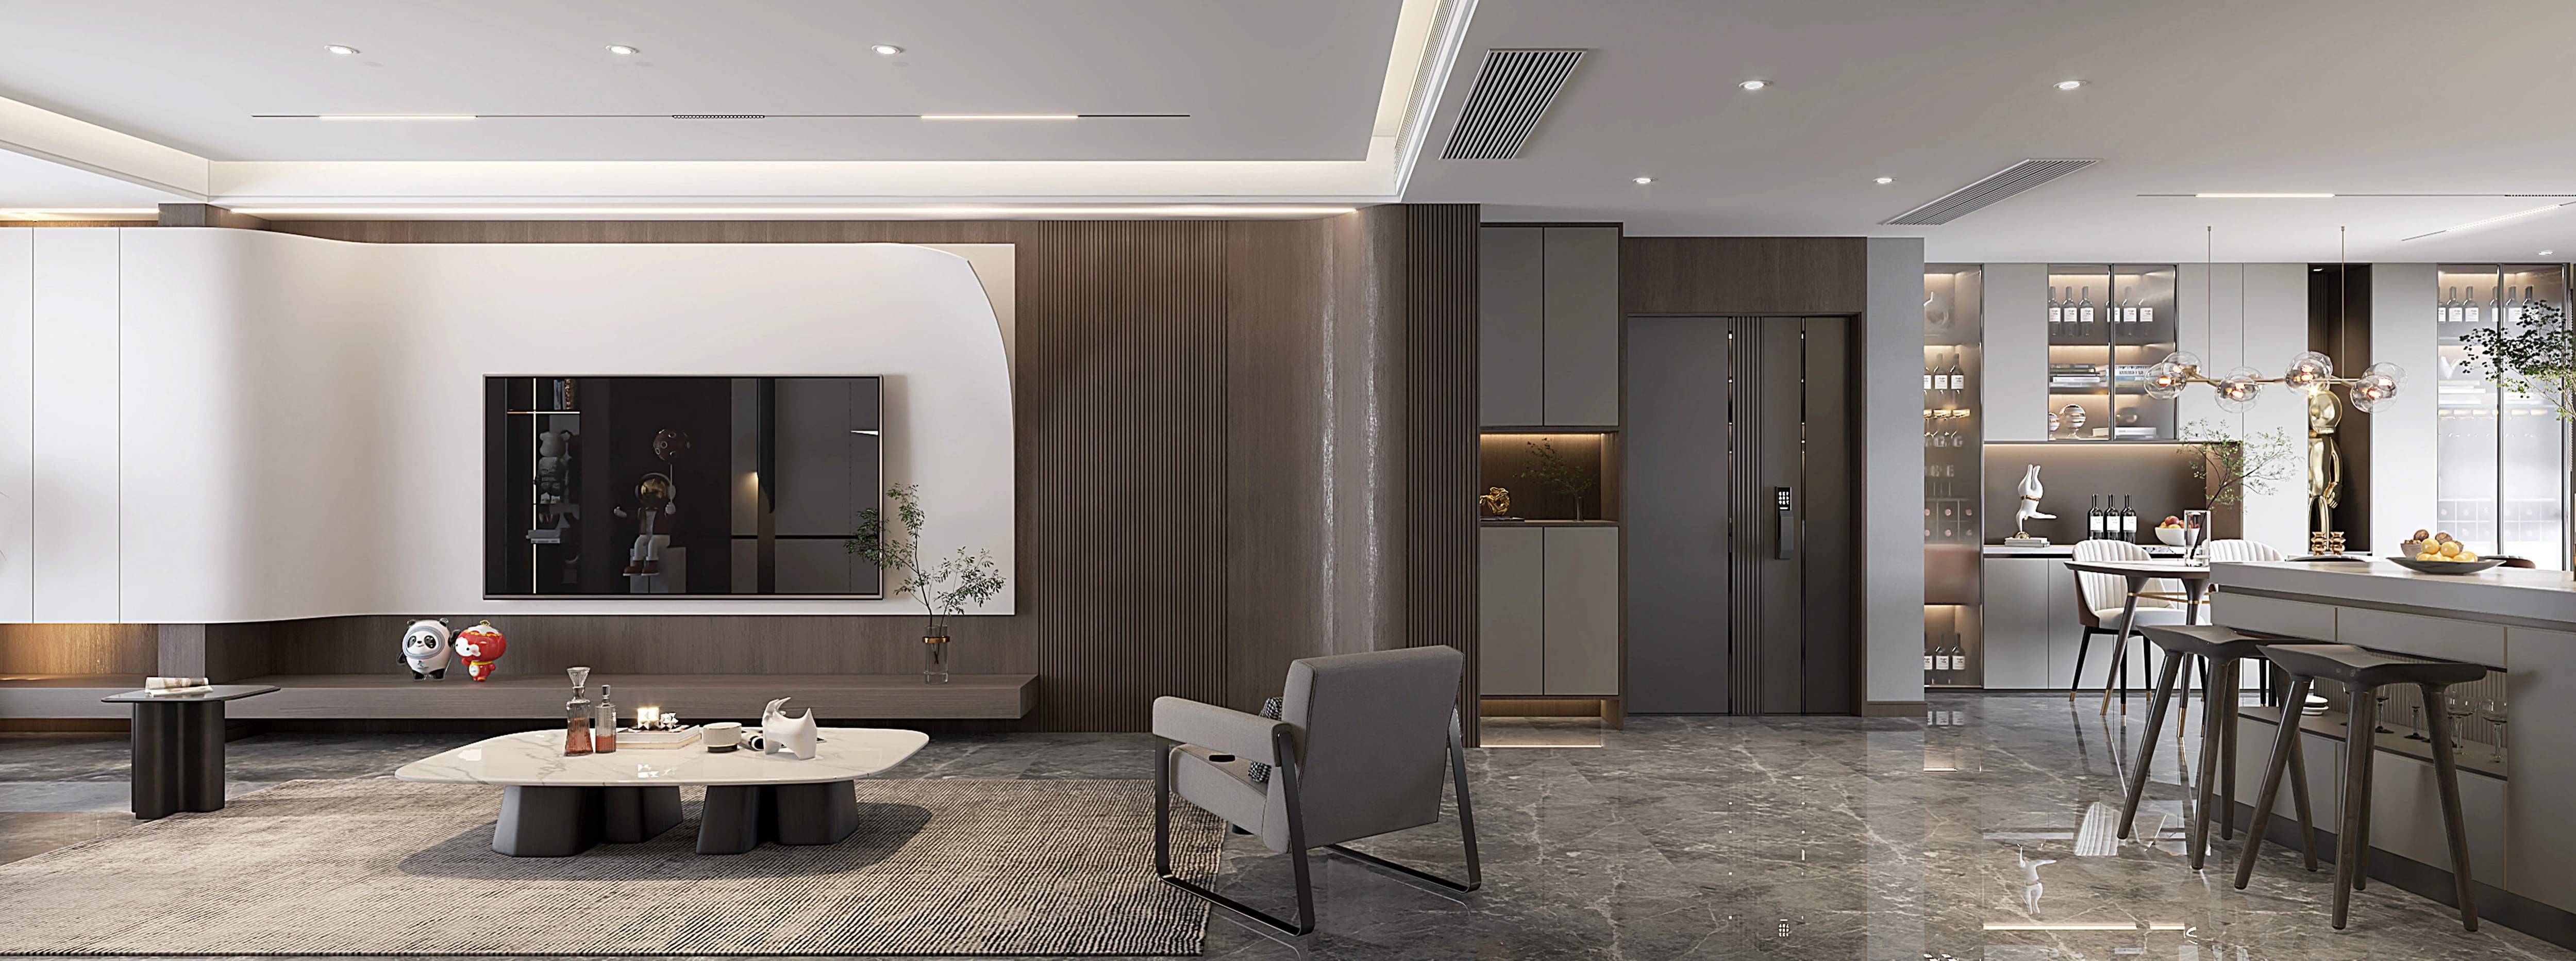
Application Areas
Living room feature walls
Offices & commercial interiors
Hotels & retail stores
Ceilings & decorative panels
Pro Tip (For B2B Clients)
Frame installation is strongly recommended for large projects to ensure long-term stability and better performance.
MEMORIES WITH CLIENTS
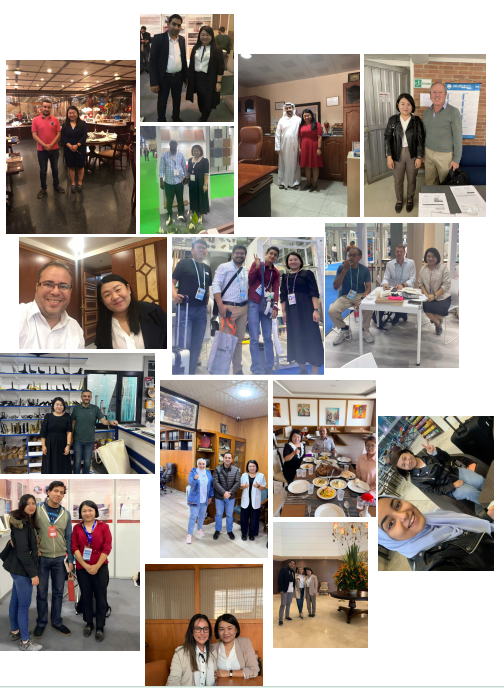
In the past 13 years, PUSEN WOOD and PUSEN DECOR have served customers in over 100 countries worldwide, building long-term partnerships across Europe, North America, South America, the Middle East, and Asia.
We are committed to integrity, reliability, and a customer-first approach in every cooperation. Each order is managed with consistency, responsibility, and attention to detail.
Over the years, we have earned the trust of global clients through stable quality, professional service, and continuous commitment to improvement.
PUSEN remains dedicated to being a long-term and dependable partner in the global wood industry.